On Linux, we can create a configuration files for devices and add them to XOrg configuration folder. After that we will be able to use mouse trackball ball + additional button to scroll page vertically or horizontally.

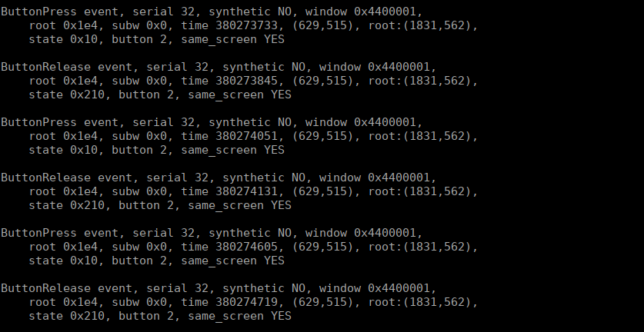
First we need to select which button we would like to use with our ball. For me best button is scroll wheel because I can easy access this button. I tested my mouse using command xev which allow to check which button was pressed and which ID is assigned to this button. I used sleep command because all my windows are opened in full screen mode. xev was executen in terminal on other desktop (which is on other monitor) and GUI application was visible on second monitor. This way I was able to see live output in terminal:

MX Ergo Scroll wheel button ID is 2 which is in last line as “button 2”. I’ll use it as a <BUTTON ID> in next steps. I don’t know which ID is for M570 but you can check yourself and change it in configuration.

MX Ergo Button ID:
1 – left mouse button (pressed)
2 – mouse wheel down (pressed) (my preferred)
3 – right mouse button (pressed)
4 – wheel up (move up)
5 – wheel down (move down)
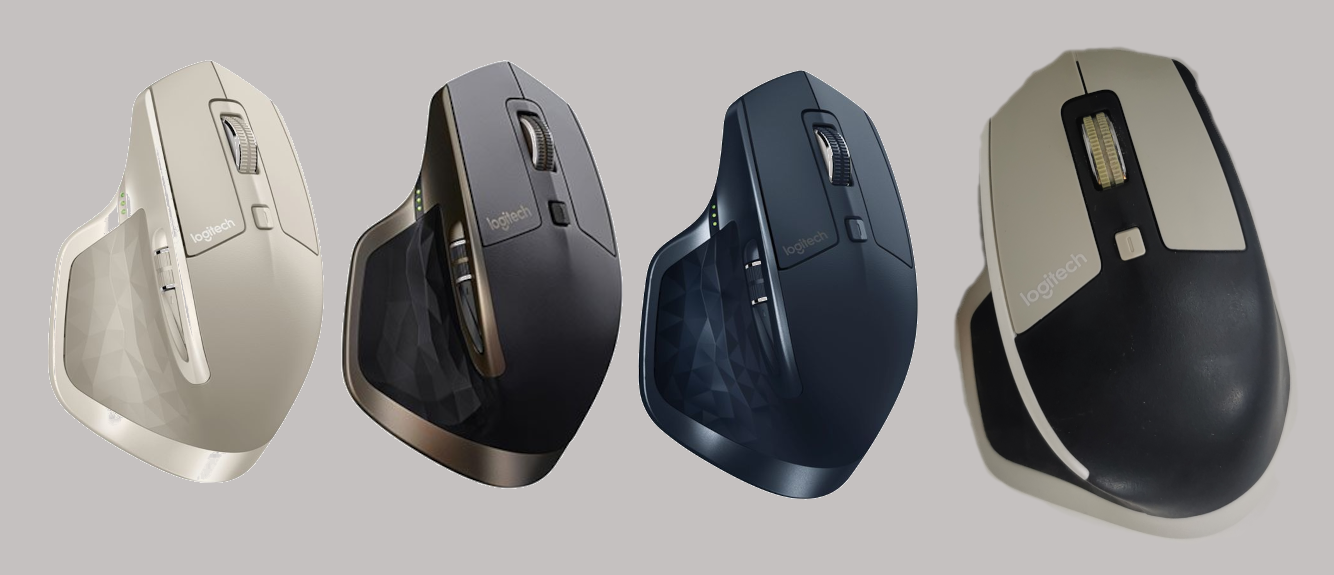
8 – button no. 2 (pressed) (check bottom picture)
9 – button no. 1 (pressed) (check bottom picture)

Other buttons don’t have ID’s or xev was unable to recognize them.

File content for Logitech M570:


 [ . . . ] 

Czytaj dalej...

The story of John the geek.

Let me tell you a story of John the geek. John decided that he don’t want to use flash drives, cables or emails to send his files from his PC to his e-Reader Onyx Boox. After several seconds, he decided to configure his Linux PC and his e-Reader to sent his files throw WiFi. It was the best solution he could find. No cables, no restrictions, just copy, paste and sync. That’s it! Nothing less, nothing more. Be like John! Well… there was that problematic part with configuration of Linux machine.

Linux machine

John opened his browser and found this awesome article which explained how to install and configure samba server on Linux machine (https://computingforgeeks.com/how-to-configure-samba-share-on-debian), after that he decided that all files will be shared from one place which will be:

/media/john/hdd_1/shares/

In this folder, John has created specific subfolders, which exists on his e-Reader:

  • Audiobooks
  • Books
  • dicts
  • Download
  • noteTemplate
  • Pictures
  • Screensaver

Of course, John could have created only one folder and run sync from PC to e-Reader every time, but he was smart enough to know that sometimes he will sync only specific folders which will take less time than sync all folders at once. Because of that he also decided that some folders will be synchronized only to e-Reader (Audiobooks, Books, dicts, noteTemplate), one from e-Reader to PC (Download) and one of them will be bidirectional (Pictures). That’s when it all started…

Samba

He has created his own samba configuration. First, he backed up his original file using command:

sudo cp /etc/samba/smb.conf /etc/samba/smb.conf.ORG

Next, he has overwritten the original file using spell:

sudo echo -n "" > /etc/samba/smb.conf

And after that, John’s magic has started. He opened his samba file, executing this command:


 [ . . . ] 

Czytaj dalej...

Tak... troszkę z tym tytułem za grubo pojechałem ale powiedzmy sobie szczerze - kto lubi obsługiwać pocztę za pomocą interfejsu webowego? No właśnie, a skoro tu jesteś to pewnie lubisz to tak samo jak ja - nie ma innej opcji - to musisz sprawdzać. A gdyby tak za pomocą magicznej klawiatury i myszki zamienić ten koszmar w piękną rzeczywistość? Przedstawiam wam prosty sposób na Exchange! 🙂

Czytaj dalej...

Jaka jest różnica między reset a restart zostało opisane w jednym z linków w źródłach.
Poniżej opis jak zadziałało to u mnie.

ESP.reset() is a hard reset and can leave some of the registers in the old state which can lead to problems, its more or less like the reset button on the PC.

ESP.restart() tells the SDK to reboot, so its a more clean reboot, use this one if possible.

the boot mode:(1,7) problem is known and only happens at the first restart after serial flashing.
if you do one manual reboot by power or RST pin all will work more info see: #1017

Kod źródłowy:


 [ . . . ] 

Czytaj dalej...

W międzyczasie zanim powstanie instrukcja o tym jak robić skórki do Mi Banda postanowiłem opisać przetestowane przeze mnie ładowarki do Mi Band 4 firmy Xiaomi.

Wstępnie jeszcze tylko powiem, że nazwanie każdego z tych "urządzeń" ładowarką jest po prostu kłamstwem. Każda z tych "ładowarek" to...

Czytaj dalej...